Sorry that I have not posted in a while. Life sometimes gets extremely busy. I will be working on updating this page so you can see the cakes I have since then also.
This is a cake that I made for my Mama back in July, 2013 for her birthday! It is a rectangular cake, cut the curve by cutting off the corners--then I used those pieces to make the handle of the cake. You can use whatever flavor cake you want--this one is red velvet because it is one of her favorite.
Tuesday, February 18, 2014
Thursday, July 18, 2013
Hope for Joshua
I know this is not dealing with food; but I am trying to spread the word anyway I can. This is my friend and I am trying to get them as much help as possible. They have not asked for anything; but they are in desperate need of all the help they can get. The only thing they have asked for is prayer and they appreciate each and everything that everyone does for them. Please visit this page and help out baby Joshua and please spread the news so other can have the opportunity to help as well. May God Bless You for all you do to help.
https://www.giveforward.com/fundraiser/tgq2/hope-for-joshua
Monday, June 17, 2013
Saturday, June 1, 2013
Smoked Chicken
Smoked chicken on the grill. One is plain incase the kids didn't like the experimental one. The experimental one turned out scrumptious!!! It was stuffed with onions and butter and then rubbed down with my husbands homemade seasoning. He just added/mixed different seasonings together to make his own.
1st photo is during the smoking process. The second photo is the finished product.
Monday, May 20, 2013
Garden Update
An update on the garden as things are growing. Coming soon are Luffas as soon as they start coming up!!
Friday, May 3, 2013
Sunday, April 28, 2013
Friday, April 26, 2013
Garden Season!!!
It is finally that time to get your gardens ready!!
I LOVE garden season!!
Got our pepper plants today. Trying something new by planting them in 5 gallon buckets.
We have also already planted our corn (in the ground) and squash (did these by seeds also in a big flower pot) so I will post these as they begin to grow.
HAPPY GARDENING!!!!!
Saturday, March 16, 2013
Fruit Salad--Yummy, Yummy!!
Sunday, March 10, 2013
Fiesta Nacho Cheese Crock Pot Chicken
4-6 Boneless Skinless Chicken Breast (cut in halves) combined with Fiesta Nacho Cheese Soup, chunky salsa, and bell peppers in the crockpot.
Cook on Low for 4-6 hours or until chicken is tender.
This was my first time at this; but next time I will add more chicken and the whole jar of chunky sauce because this time I only added a few table spoons.
Enjoy!!
Monday, February 25, 2013
Add some Flavor to your Tators
Thursday, February 14, 2013
Wednesday, February 13, 2013
Farmer's Market
Do you shop at your local Farmer's Market? If so, what are some of your favorite items to purchase there?
Tuesday, February 5, 2013
Mini Taco Pie
These are very simple to make. I made tacos (as normal).
After making the taco meat sauce--place some of the meat sauce on top of a can biscuit.
Press a small hole/dent in top of the biscuit to sort of cradle the meat.
Bake until biscuits are done.
Then add cheese and/or whatever ingedients you wish.
Yummy!!
Sunday, February 3, 2013
Fried Apple Pie
Last week I made the apple turnovers; they were good but I wouldn't brag about them. This week I made an improvement and did the "Fried Apple Pie."
I usually prefer to make things from scratch; but I will admit that I cheated this time and used large canned buttermilk biscuits and canned applie pie filling with the real apples in it.
1. Put about 1/2 inch oil into the cast iron skillet and preheat.
2. Flour one biscuit at a time and roll it out flat (about 5 inches or so).
3. Place a spoonful or so in the center of the dough (I used 1/3 cup because it was the serving size on my can) of apple pie filling.
4. Fold the side over to make a half-moon shape. Use a fork to pinch/seal the edges all the way around.
5. Place the pie into the grease--Be very cautious not to get burnt.
6. Watch it until it turns golden to your preference.
7. Then turn it over and brown the other side.
8. Remove from grease and let cool just enough so you won't get burnt.
9. ENJOY!!!!!!!!!
I usually prefer to make things from scratch; but I will admit that I cheated this time and used large canned buttermilk biscuits and canned applie pie filling with the real apples in it.
1. Put about 1/2 inch oil into the cast iron skillet and preheat.
2. Flour one biscuit at a time and roll it out flat (about 5 inches or so).
3. Place a spoonful or so in the center of the dough (I used 1/3 cup because it was the serving size on my can) of apple pie filling.
4. Fold the side over to make a half-moon shape. Use a fork to pinch/seal the edges all the way around.
5. Place the pie into the grease--Be very cautious not to get burnt.
6. Watch it until it turns golden to your preference.
7. Then turn it over and brown the other side.
8. Remove from grease and let cool just enough so you won't get burnt.
9. ENJOY!!!!!!!!!
Thursday, January 31, 2013
Your Thoughts
I would like to know your thoughts and what food you would like to see me cook and post?
Can't wait to see your input!!
Happy Cooking!!
Tasty Not Perfect!!
Thinking about what to post next!
Can't wait to see your input!!
Happy Cooking!!
Tasty Not Perfect!!
Thinking about what to post next!
Monday, January 28, 2013
Sunday, January 27, 2013
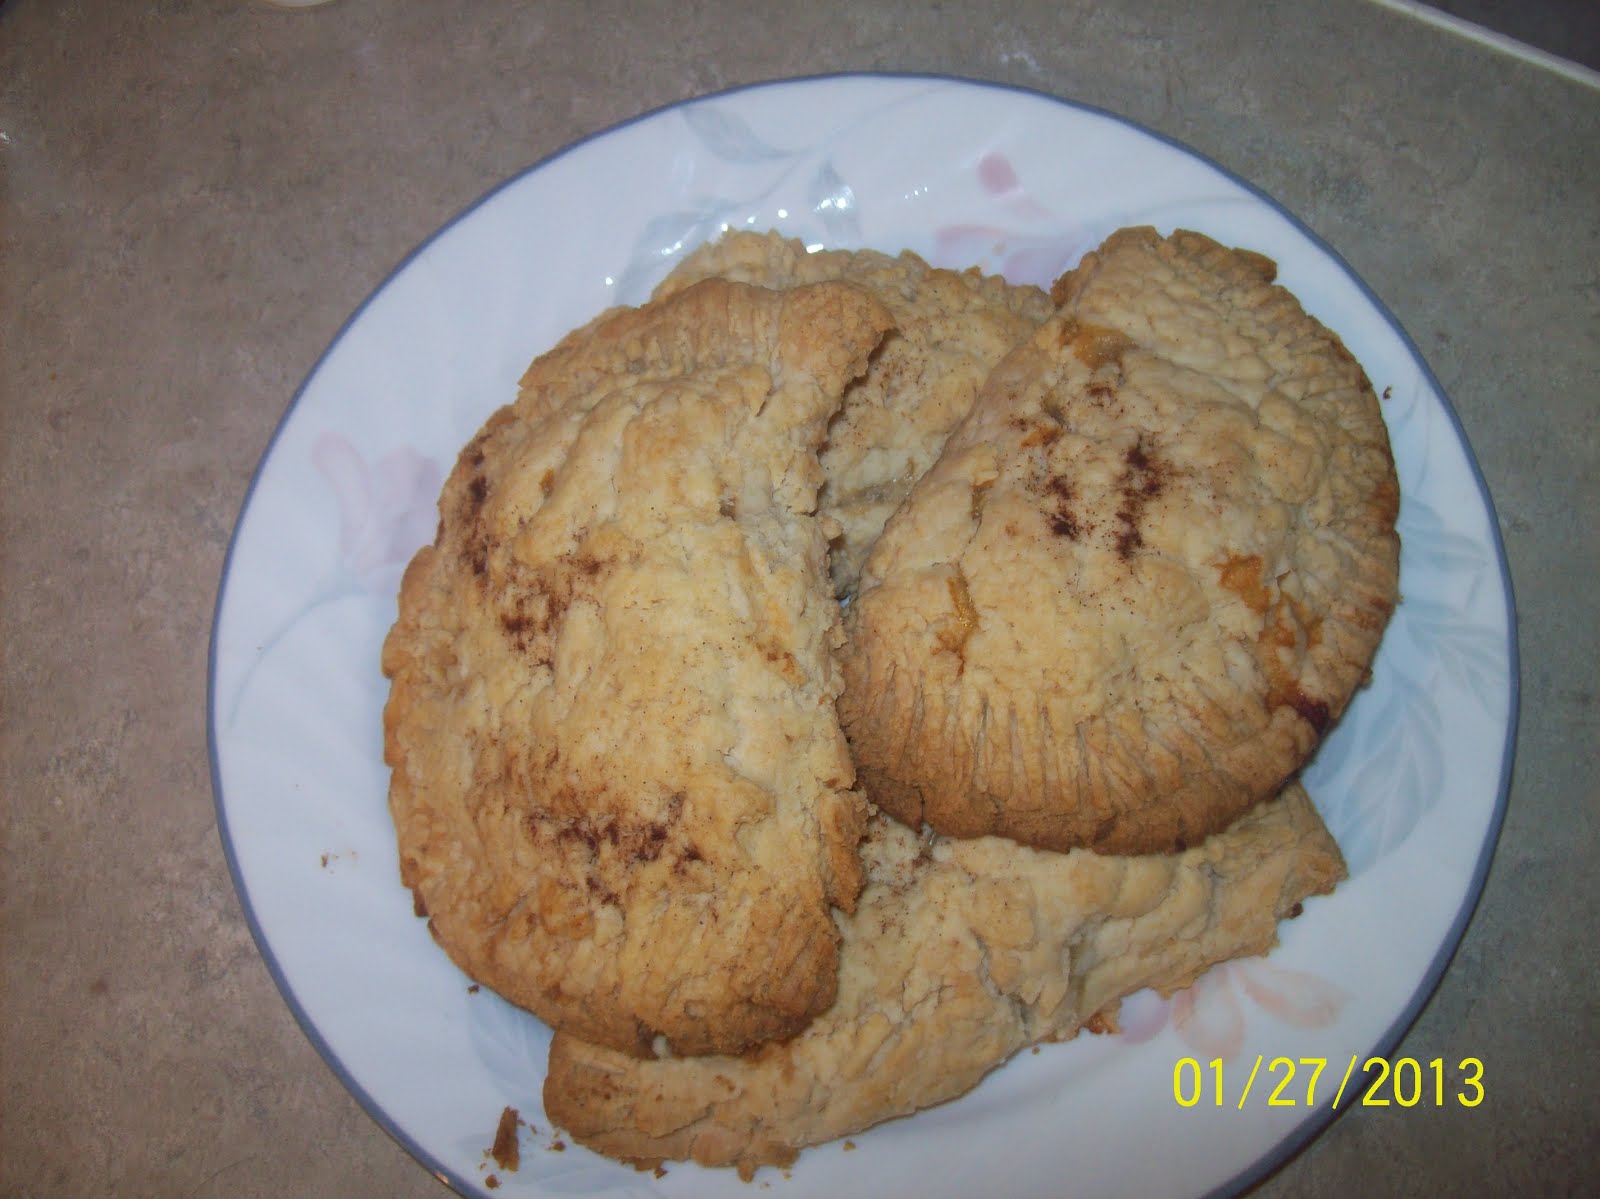
Kids in the Kitchen with Apple Pie Turnovers
My first Turnover having fun in the kitchen with the kids. Teaching them while they experiment and make their own as well!! We are learning together and making memories!!
They were good; but I believe the ones the kids made turned out better!! :)
Saturday, January 26, 2013
Bacon Addtiion
I made my traditional stir fry last night!! I added bacon!!! You can never go wrong with bacon. Next time I make it--I am adding onions!! Comment below and let me know what you think of my blog and give me any suggestions you may have!
Don't forget to Follow Me so you will know anytime I post!!
Happy Cooking!! Remember Tasty not Perfect!!
Don't forget to Follow Me so you will know anytime I post!!
Happy Cooking!! Remember Tasty not Perfect!!
Tuesday, January 22, 2013
Cupcakes
I am no profressional; but I also enjoy baking/decorating cakes. These are just a couple I have done over the last couple of years. The ice cream cones I made for my oldest daughter when she turned 8yrs old in 2010. I got the instructions fom www.howdini.com.
The ladybugs-I did on my own. I made them for my youngest daughter last year when she turned 7 yrs old.
Tip: Cool cakes in the fridge completely before icing. It helps it not to have lose crumbs while icing and the icing comes out smoother.
I didn't realize that I don't have a picture of the cones by themselves so there is also a regular cake in this photo as well.
The ladybugs-I did on my own. I made them for my youngest daughter last year when she turned 7 yrs old.
Tip: Cool cakes in the fridge completely before icing. It helps it not to have lose crumbs while icing and the icing comes out smoother.
I didn't realize that I don't have a picture of the cones by themselves so there is also a regular cake in this photo as well.
![]() |
Subscribe to:
Posts (Atom)


